
Facilities
January 20, 2026 2026-05-06 10:08Facilities
UCNET-WWW wireless network
This is the wireless network offered by the PK network center. After automatically and successfully connecting to the network from our computer, laptop, or smart device, we open the browser. When attempting to connect to a website using the browser, we notice that we are redirected to the following page (http://1.1.1.1/login.htm)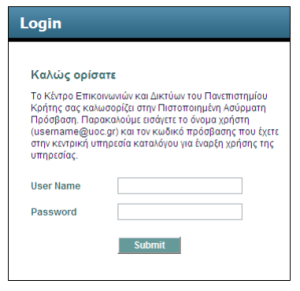
The above figure shows the authentication form for the UNCET-WWW network
On the authentication page to which we are redirected, the user must enter their email address and corresponding password. The following video shows the login process in detail Detailed instructions from the Network Center are available on the following page.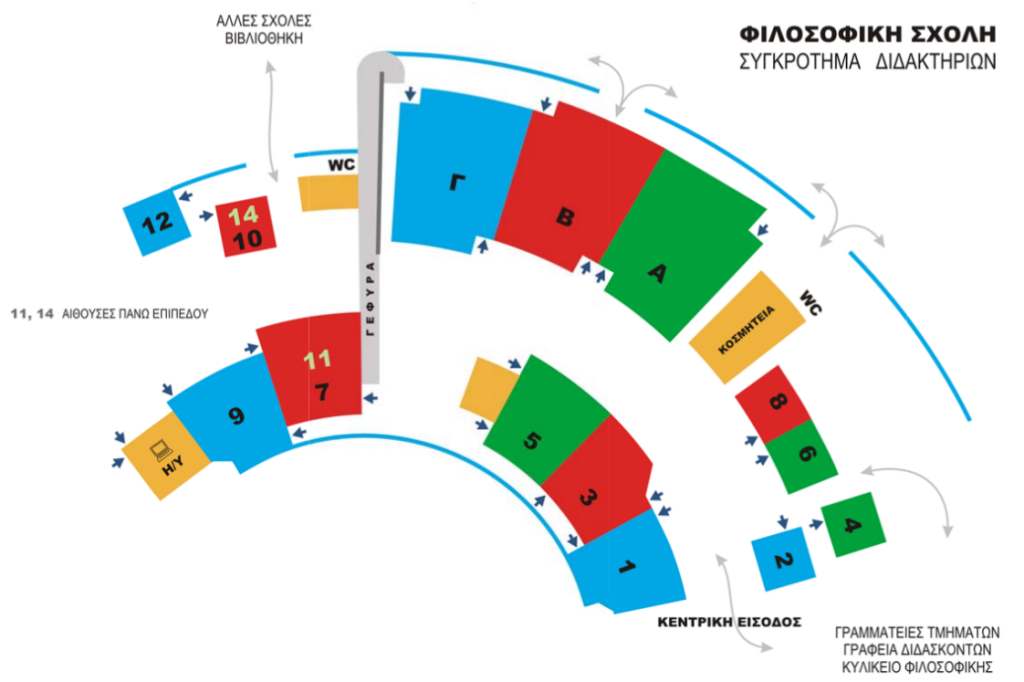
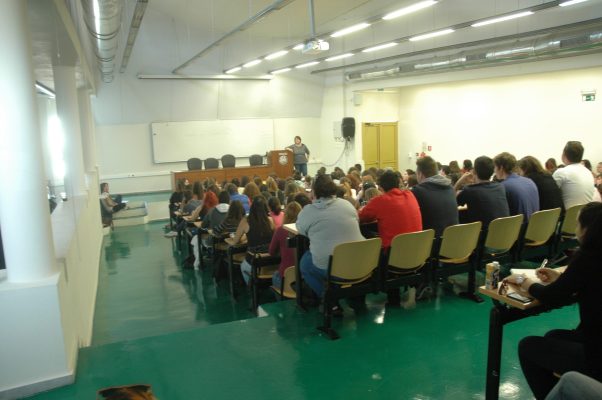
| Auditoriums | ||
| · A, 250 seats | · B, 250 seats | · C, 250 seats |
| Classrooms | ||
| · 1, 100 seats | · 6, 25 seats | · 11, 50 seats |
| · 2, 25 seats | · 7, 50 seats | · 12, 25 seats |
| · 3, 100 seats | · 8, 25 seats | · Computer lab |
| · 4, 25 seats | · 9, 100 seats | |
| · 5, 100 seats | · 10, 25 seats | |
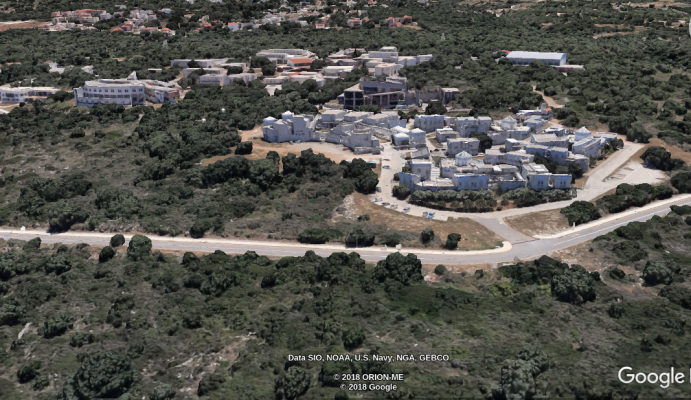
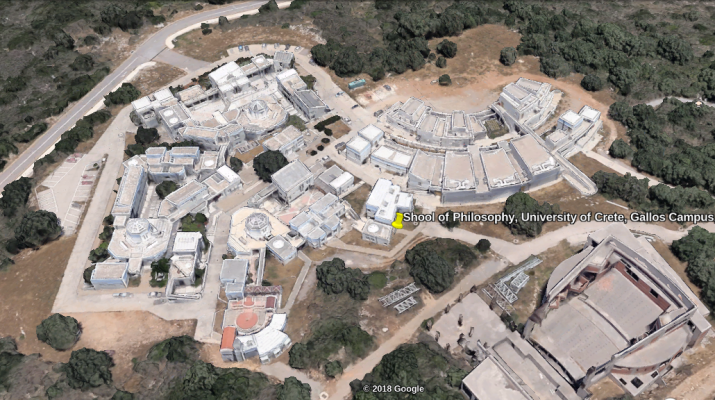
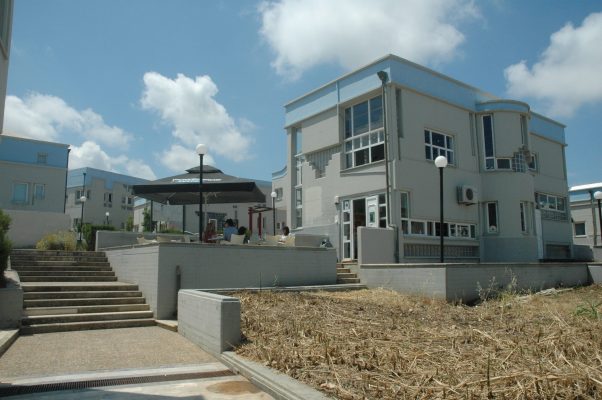
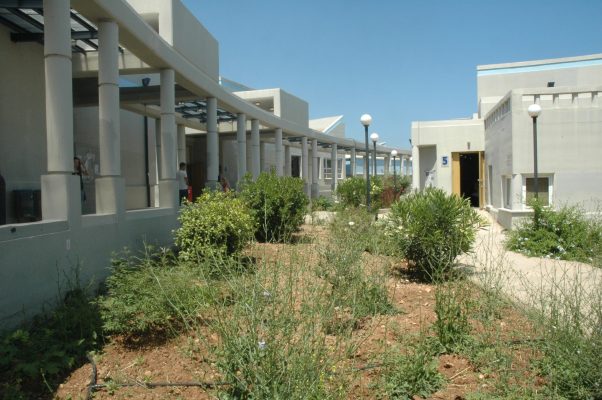
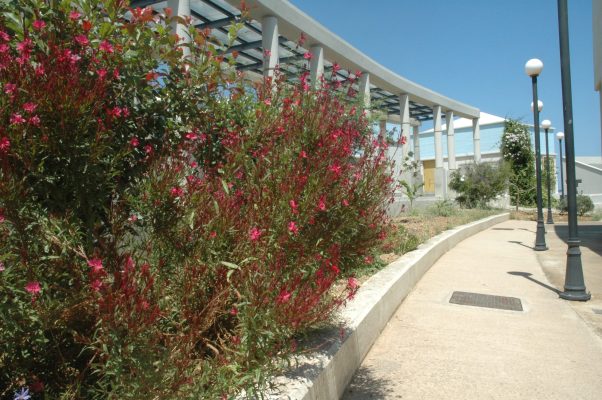
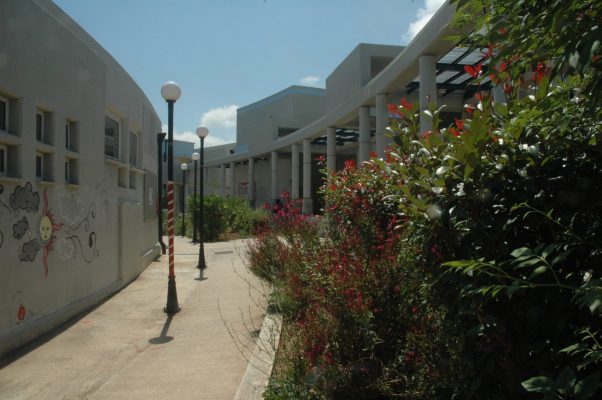
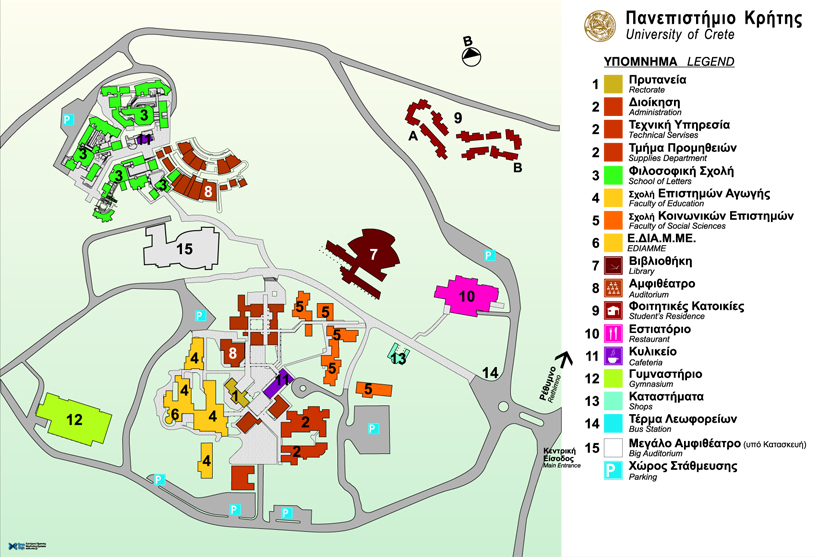
Map of the University Campus in Gallos
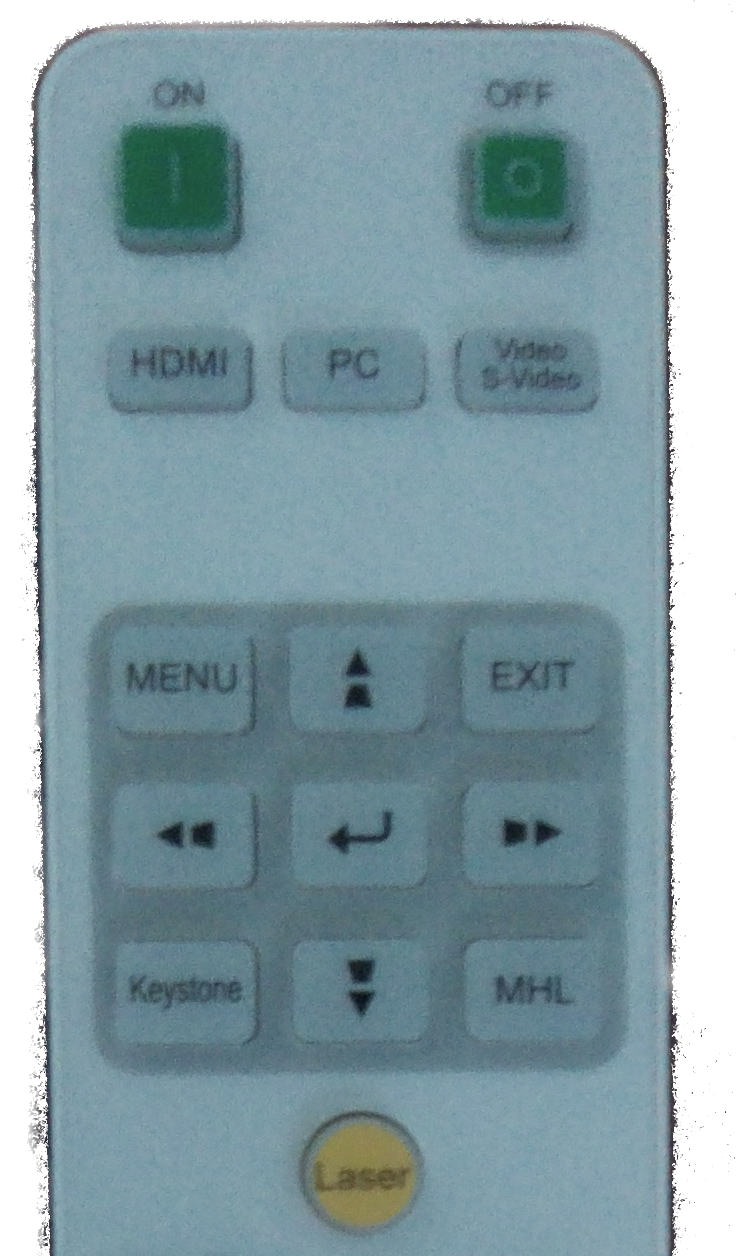
The use of the projectors includes the following buttons (see image below):
- ON: start projector
- OFF: stop projector. Press it once and after a message appears (red at the bottom of the screen), confirm shutdown by pressing it again.
The projector automatically receives the signal from the input, so no additional settings are required.
If, for any reason, the projector does not automatically receive input from the computer even though it is connected, you can use the PC and HDMI buttons as a last resort to inform the projector how to connect (see cables below):
CAUTION: no other actions or manipulations beyond those described above are recommended. Do not attempt to operate the device via the electrical panel or power supply, as this may cause damage and interfere with the normal operation of the rooms.
Cables for connecting a laptop
VGA and HDMI cables are supported for connecting laptops. The following image shows the VGA cable, which is an older technology that is being phased out, and the newer HDMI cable:
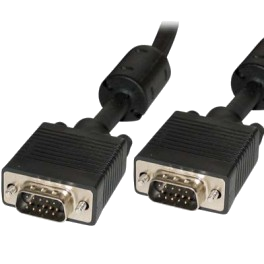 |  |
The cable must be positioned carefully, without pressure because the cable is not symmetrical and only fits into the socket when correctly oriented.
In lecture halls A, B, and C, there is a fixed projector input for an HDMI cable on the side of the speaker’s seat, on the side facing the podium.
The new projectors are easier to use than the old ones because of the default settings, which mean that users do not need to make any special adjustments. Standard use involves only the ON, SOURCE, and STANDBY buttons located at the top of the remote control (see image below):
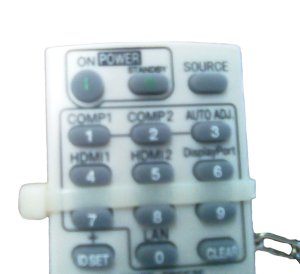
ON: press once and wait a moment for the machine to warm up.
STAND-BY: when we are finished, press it twice to turn off the machine. The first time, a message will appear on the screen guiding us to press it, and the second time
SOURCE: selects between the projector inputs. The selection is made automatically when the cable is connected to our portable system. If the projector does not recognize it automatically, we can use the SOURCE button to instruct the projector to change the input.
Please note that you must be familiar with the operation of your portable system
CAUTION: no other actions or operations beyond those described above are recommended. Operations via the electrical panel or power supply should not be performed as they cause damage and interfere with the smooth operation of the rooms.
Cables for connecting a laptop
VGA and HDMI cables are supported for connecting laptops. The following image shows the VGA cable, which is an older technology that is being abandoned over time, as well as the newer HDMI:
|  |
The cable must be inserted carefully, without pressure because the cable is not symmetrical and fits into the socket only in the correct orientation.
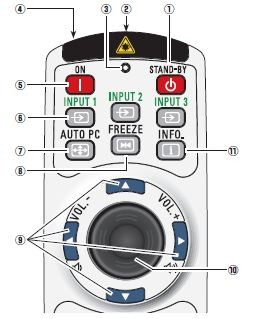
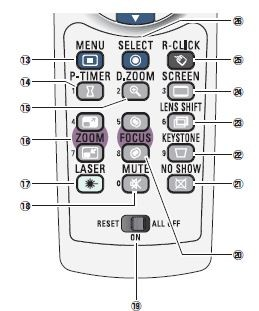
Using the projector remote control
- How to turn on the projector: press the “ON” button (no. 5 in the image) once and wait for the projector to turn on.
- How to turn off the projector: Press the “STAND-BY” button (no. 1 in the image) once. A message will appear asking you to press it a second time to confirm that you want to put the projector into standby mode.
Prerequisite for the remote control to work is that the small switch button at the bottom of the remote control (no. 19 in the image) is in the ON position. - The projector control also has a laser pointer (no. 17 in the image).
 |  |
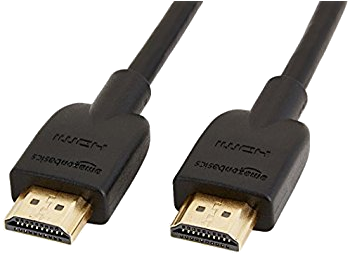
Cables for connecting a laptop
VGA and HDMI cables are supported for connecting laptops. The following image shows the VGA cable, which is an older technology that is being phased out, and the newer HDMI cable:
| |
The cable must be inserted carefully, without applying pressure because the cable is not symmetrical and only fits into the socket when correctly oriented.
The amphitheaters and lecture halls of the philosophy school are equipped with a mechanical system that unrolls and rolls up a special projection screen.
The mechanism is controlled by a fixed control panel and a remote control (see images below) and its use is obvious:
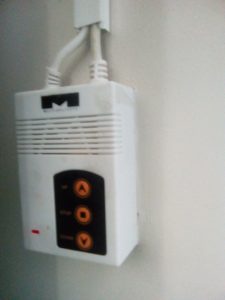
The fixed control for the projection screen is typically located to the right of the panel in lecture halls.
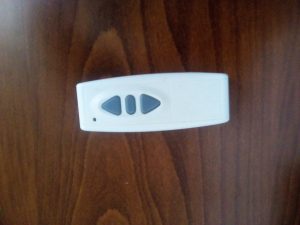
The remote control for the projection screen is located in the cabinet or on the fixed control panel.
The only room with a different projection screen, but controlled by an identical mechanism, is amphitheater B.
Using the microphone
When the microphone is activated, i.e. the switch is in the ON position, the system operates directly:
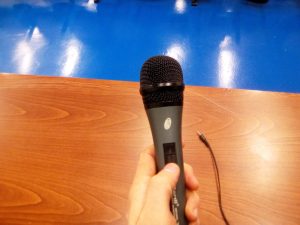
If the microphone does not work even though it is in the ON position, check that the speakers are turned on, i.e. that the switch controlling their power supply is in the ON position and that the fuse in the room’s electrical panel for the sound system is in the upright position.
Beyond the above, we do not take any further action.
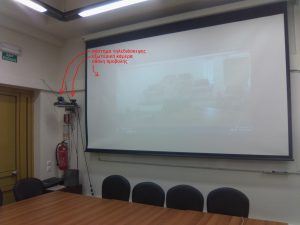
Room description
The teleconference room has the following three (3) systems that are necessary for creating conferences:
- PolyComm teleconferencing system
- External camera for the teleconferencing system (Sony)
- Projection system for projection onto a screen.
The equipment is shown in the image below:
System use – remote control
The systems are operated remotely. The following image shows the controls for each system.
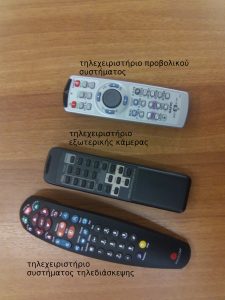
In practical terms, the use of remote controls is limited to the following functions (for the projection system, see instructions in the menu on the left):
- teleconferencing system remote control:
- adjusting the camera orientation using the arrow keys,
- initiating a teleconference call.
- external camera remote control: adjusting the camera orientation using the arrow keys.
To present in the classrooms of the School of Philosophy, we must carry out the following steps:
(a) We connect the laptop to the cable that communicates with the projector
See image below:
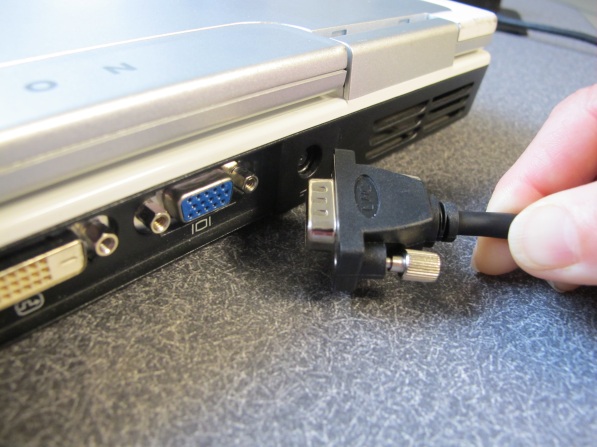
(b) We ensure that the laptop screen is displayed on the projection screen
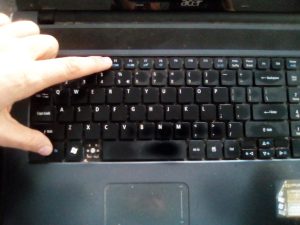
We use the so-called “Function keys,” which are activated by the “Fn” button, typically located on the bottom row of the keyboard on the left. The button that displays the computer screen via the cable connected to the projector bears a distinctive marking colored with the same color as the Fn button (see image below):
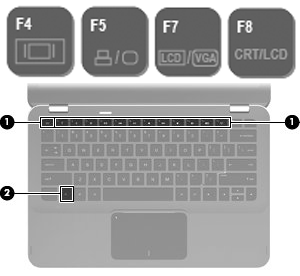
Thus, by simultaneously pressing the Fn button and the corresponding button with the distinctive marking (it may be F4, F5, F6, or F7 depending on the laptop model), our computer displays our desktop via the projector (see image below):
(c) We start our presentation
By launching the presentation program we use or by pressing the F5 button.
Last update: Oct. 2016